Embarking on the adventure of mastering line art coloring in Procreate is a thrilling experience. This comprehensive guide unveils a set of seven straightforward steps tailored for novices, paving the way to proficiency in the art of coloring within Procreate. By diligently following these steps, you’ll enhance your design prowess and craft captivating digital masterpieces in a flash!
Preparing Your Line Art
To ensure a successful coloring endeavor, the preparation of your line art holds immense importance. Here’s a straightforward procedure to achieve this:
- Import Your Artwork: Commence by creating a new canvas in Procreate, and then employ the wrench icon to import your line art;
- Isolate the Line Art: If your line art includes a white background, modify the blending mode to “Multiply” using the “N” icon. This adjustment renders the white background transparent, streamlining the coloring procedure;
- Establish a Reference Layer: Elevate your coloring efficiency by designating the line art as a reference layer. This facilitates precision in staying within the lines while applying color;
- Organize Your Layers: Maintain the line art on a separate layer positioned above the others to prevent unintentional modifications during the coloring phase;
- Following these preparations, the journey of learning to color in Procreate becomes more manageable, focusing on aspects such as color selection, layer creation, and beyond.
Selecting a Color Palette
Selecting the perfect color palette is instrumental in showcasing the allure of your artwork and effectively conveying its intended ambiance. Consider these insightful pointers:
- Define the Mood: Envision the atmosphere you wish to evoke in your artwork. Is it a cheerful and luminous scene, or does it exude a dramatic and contemplative mood?;
- Choose Your Colors: Initiate the process with a handful of foundational colors that harmonize seamlessly. Fine-tune and enhance your color choices by utilizing the Procreate color wheel;
- Organize Your Palette: To keep your colors within easy reach, establish a new palette by tapping the plus icon in the Color Palettes panel;
- Embrace Contrast and Diversity: Ensure your color assortment encompasses a range of light, dark, and mid-toned hues to achieve striking contrast. Don’t hesitate to introduce daring and unexpected colors to infuse diversity and intrigue;
- With these considerations in mind, you are on the brink of mastering the art of coloring in Procreate. The next step involves the creation of color layers to further enhance your digital masterpiece.
Creating Color Layers
Dividing colors into distinct layers not only improves organization but also grants you greater flexibility. Here’s a step-by-step guide:
- Start with a Fresh Layer: Begin by introducing a new layer positioned beneath your line art layer;
- Personalize Layer Names: Ensure clarity and ease of identification by assigning unique names to each layer based on its specific purpose;
- Harness Clipping Masks: Procreate offers the invaluable feature of clipping masks, which neatly confines your coloring within the boundaries of an existing layer, resulting in a more precise and tidy coloring experience;
- Expand Your Layer Count: As you introduce additional colors into your artwork, establish separate layers for each hue. This approach enhances your control over the coloring process and simplifies adjustments;
- With your color layers in place, you are now prepared to embark on the painting phase with confidence and precision!
Painting the Base Colors
The foundational colors, known as base colors, play a pivotal role in defining the overall aesthetics of your artwork. Here’s how to initiate this crucial stage:
- Select Your Initial Hue: Begin by picking the first base color from your designated palette;
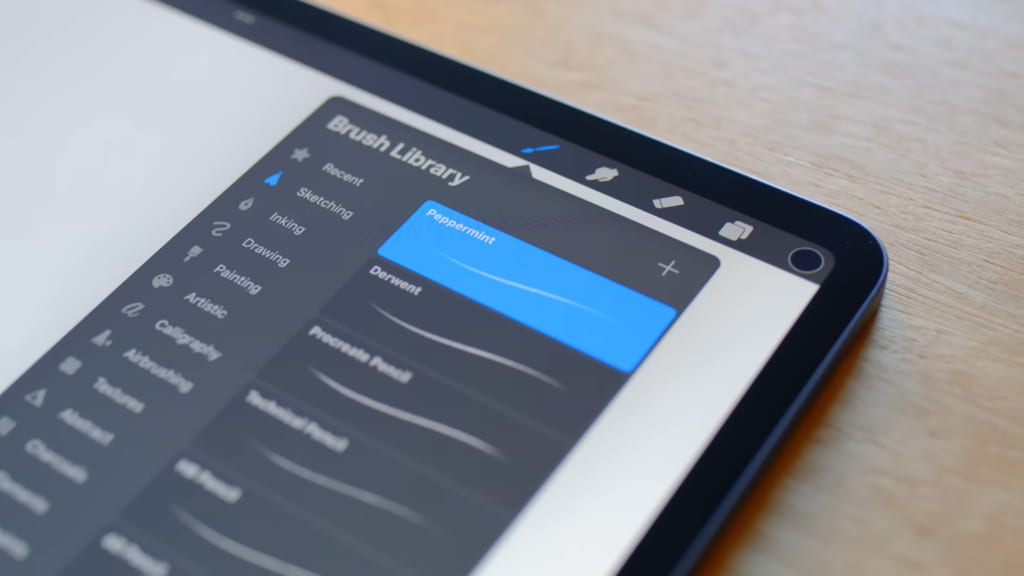
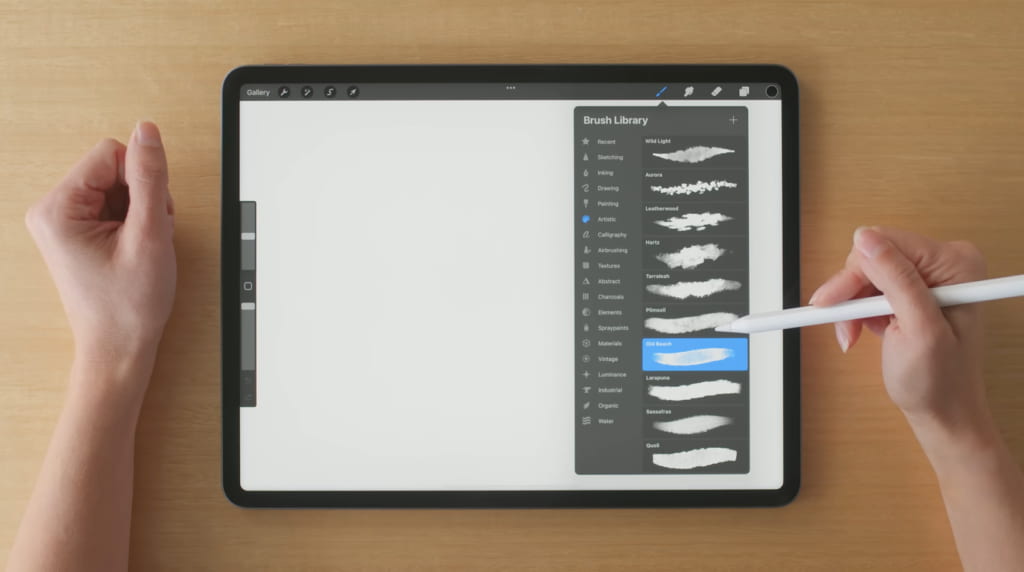
- Opt for the Ideal Brush: For base colors, choose a brush that provides solid fill and precise edges. Procreate boasts an extensive array of brush options to cater to your preferences;
- Target the Correct Layer: Ensure that you are applying color to the appropriate color layer, maintaining a well-organized structure for effortless adjustments;
- Tackle Larger Areas First: Commence by coloring the more expansive sections of your line art;
- Perfect the Edges: Zoom in and meticulously paint along the edges of the line art to achieve a polished, immaculate appearance;
- Replicate for All Base Colors: Continue this method for each base color, adhering to the designated layer for each hue;
- With your base colors expertly applied, the journey of mastering line art coloring in Procreate takes an exhilarating turn. The subsequent phase involves the addition of shadows and highlights, elevating your artwork to new heights of creativity.
Adding Shadows and Highlights
Shadows and highlights bestow upon your artwork an authentic and three-dimensional allure. Here are the essential steps to follow:
- Shadow Layer: Start by introducing a new layer positioned above the base color layers. Adjust the blending mode to “Multiply” and lower the opacity for a subtly translucent shadow effect;
- Choose Your Shadow Hue: Select a darker iteration of your base color to represent the shadows;
- Opt for a Soft Brush: When painting shadows, opt for a soft-edged brush, such as the “Airbrush” or “Soft Brush” in Procreate, for the most effective results;
- Apply Shadows: Determine the direction of your light source and proceed to add shadows to the opposing side;
- Highlight Layer: In a parallel fashion, create a fresh layer dedicated to highlights;
- Select the Highlight Shade: Opt for a lighter variation of your base color to define the highlights;
- Highlight Application: Utilize the same soft brush employed for shadows to skillfully apply highlights on the side that receives the light source.
By incorporating shadows and highlights into your artwork, you elevate its overall quality while advancing your mastery of Procreate coloring. The subsequent phase involves the art of blending colors for seamless transitions and a harmonious finish.
Blending Colors
In this phase, we will delve into the art of crafting seamless color transitions while steering clear of abrupt shifts in hues. The process unfolds as follows:
- Opt for the Appropriate Brush: To facilitate blending, opt for a suitable blending brush, such as the “Smudge” tool;
- Fine-Tune Brush Settings: Customize the brush size and opacity to align with your specific requirements prior to initiating the blending process;
- Commence Color Blending: Gently sweep the brush over regions where your base color, shadows, and highlights intersect, fostering a gradual fusion of colors;
- Hone Your Blending Technique: Feel free to toggle between the “Paint” and “Smudge” tools as needed, refining your blending until you attain the desired effect.
Final Touches and Export
After successful coloring and blending, it’s time for final adjustments and exporting your masterpiece. Here are the steps:
- Review and adjust layers: Review each layer, make any necessary adjustments, and add effects or textures for a more distinctive look;
- Sign your work: Add your signature or watermark to your artwork;
- Export your artwork: Export your finished piece in your preferred file format;
- Congratulations! After mastering these steps, you’ve learned how to color line art in Procreate. Practice these techniques, experiment with unique brushes, and make use of various color palettes to continue improving your skills.
Maximizing Procreate’s Features
Procreate comes equipped with numerous advanced features that, when utilized to the fullest, can incredibly elevate the quality of your digital art. Some noteworthy features include Layer Masks, Alpha Lock, and QuickShape. These tools allow for more intricate detailing, precision, and flexibility in creating more complex and stunning artwork.
Troubleshooting Common Problems
Procreate, while extremely user-friendly, can sometimes present minor challenges, especially for beginners. Common problems include jittery lines, color spillage outside the line art, and difficulties in blending colors smoothly. Troubleshooting these issues often involves understanding Procreate’s settings and tools better, and tweaking them to fit your unique needs.
Conclusion
Coloring line art in Procreate can initially seem daunting, but with patience and practice, you can master the process and create stunning digital artwork. This guide navigates through the critical steps involved in making your journey easier. Remember, the beauty of art lies in its uniqueness. So, keep experimenting with different techniques and styles until you discover what works best for you.
Additionally, take advantage of workshops like ‘Refreshing your Colours in Procreate’ by Faira to further enrich your digital art skills. Happy Procreating!
Mastering the art of coloring line art in Procreate does not require any magic, just an understanding of its tools and capabilities. By preparing your line art correctly, choosing an appropriate color palette, organizing your color layers, and accurately painting base colors, you lay a firm foundation for a visually appealing outcome. Adding depth through shadows and highlights and achieving smooth transitions using blending techniques further enhances the artwork’s realism. Polishing your art and effectively exporting it caps the creation process. As with any skill, remember that practice is key. The more you work with Procreate, the more you’ll find your rhythm and style, leading to an effortless journey in creating breathtaking digital art.